How I started Blender!
4 minutes read •
In April 2024, I came across a cool animation made in Blender and thought, ‘Wow! That’s crazy. I want to learn how to do that too’. So, I started my journey
At first, I was really confused because there were tons of buttons, shortcuts, tabs and a cube in the middle.
Pro tip: Use Blender Shortcuts cheatsheet as it helped me remember the keys.
(Shortcut key: X to delete the default cube)
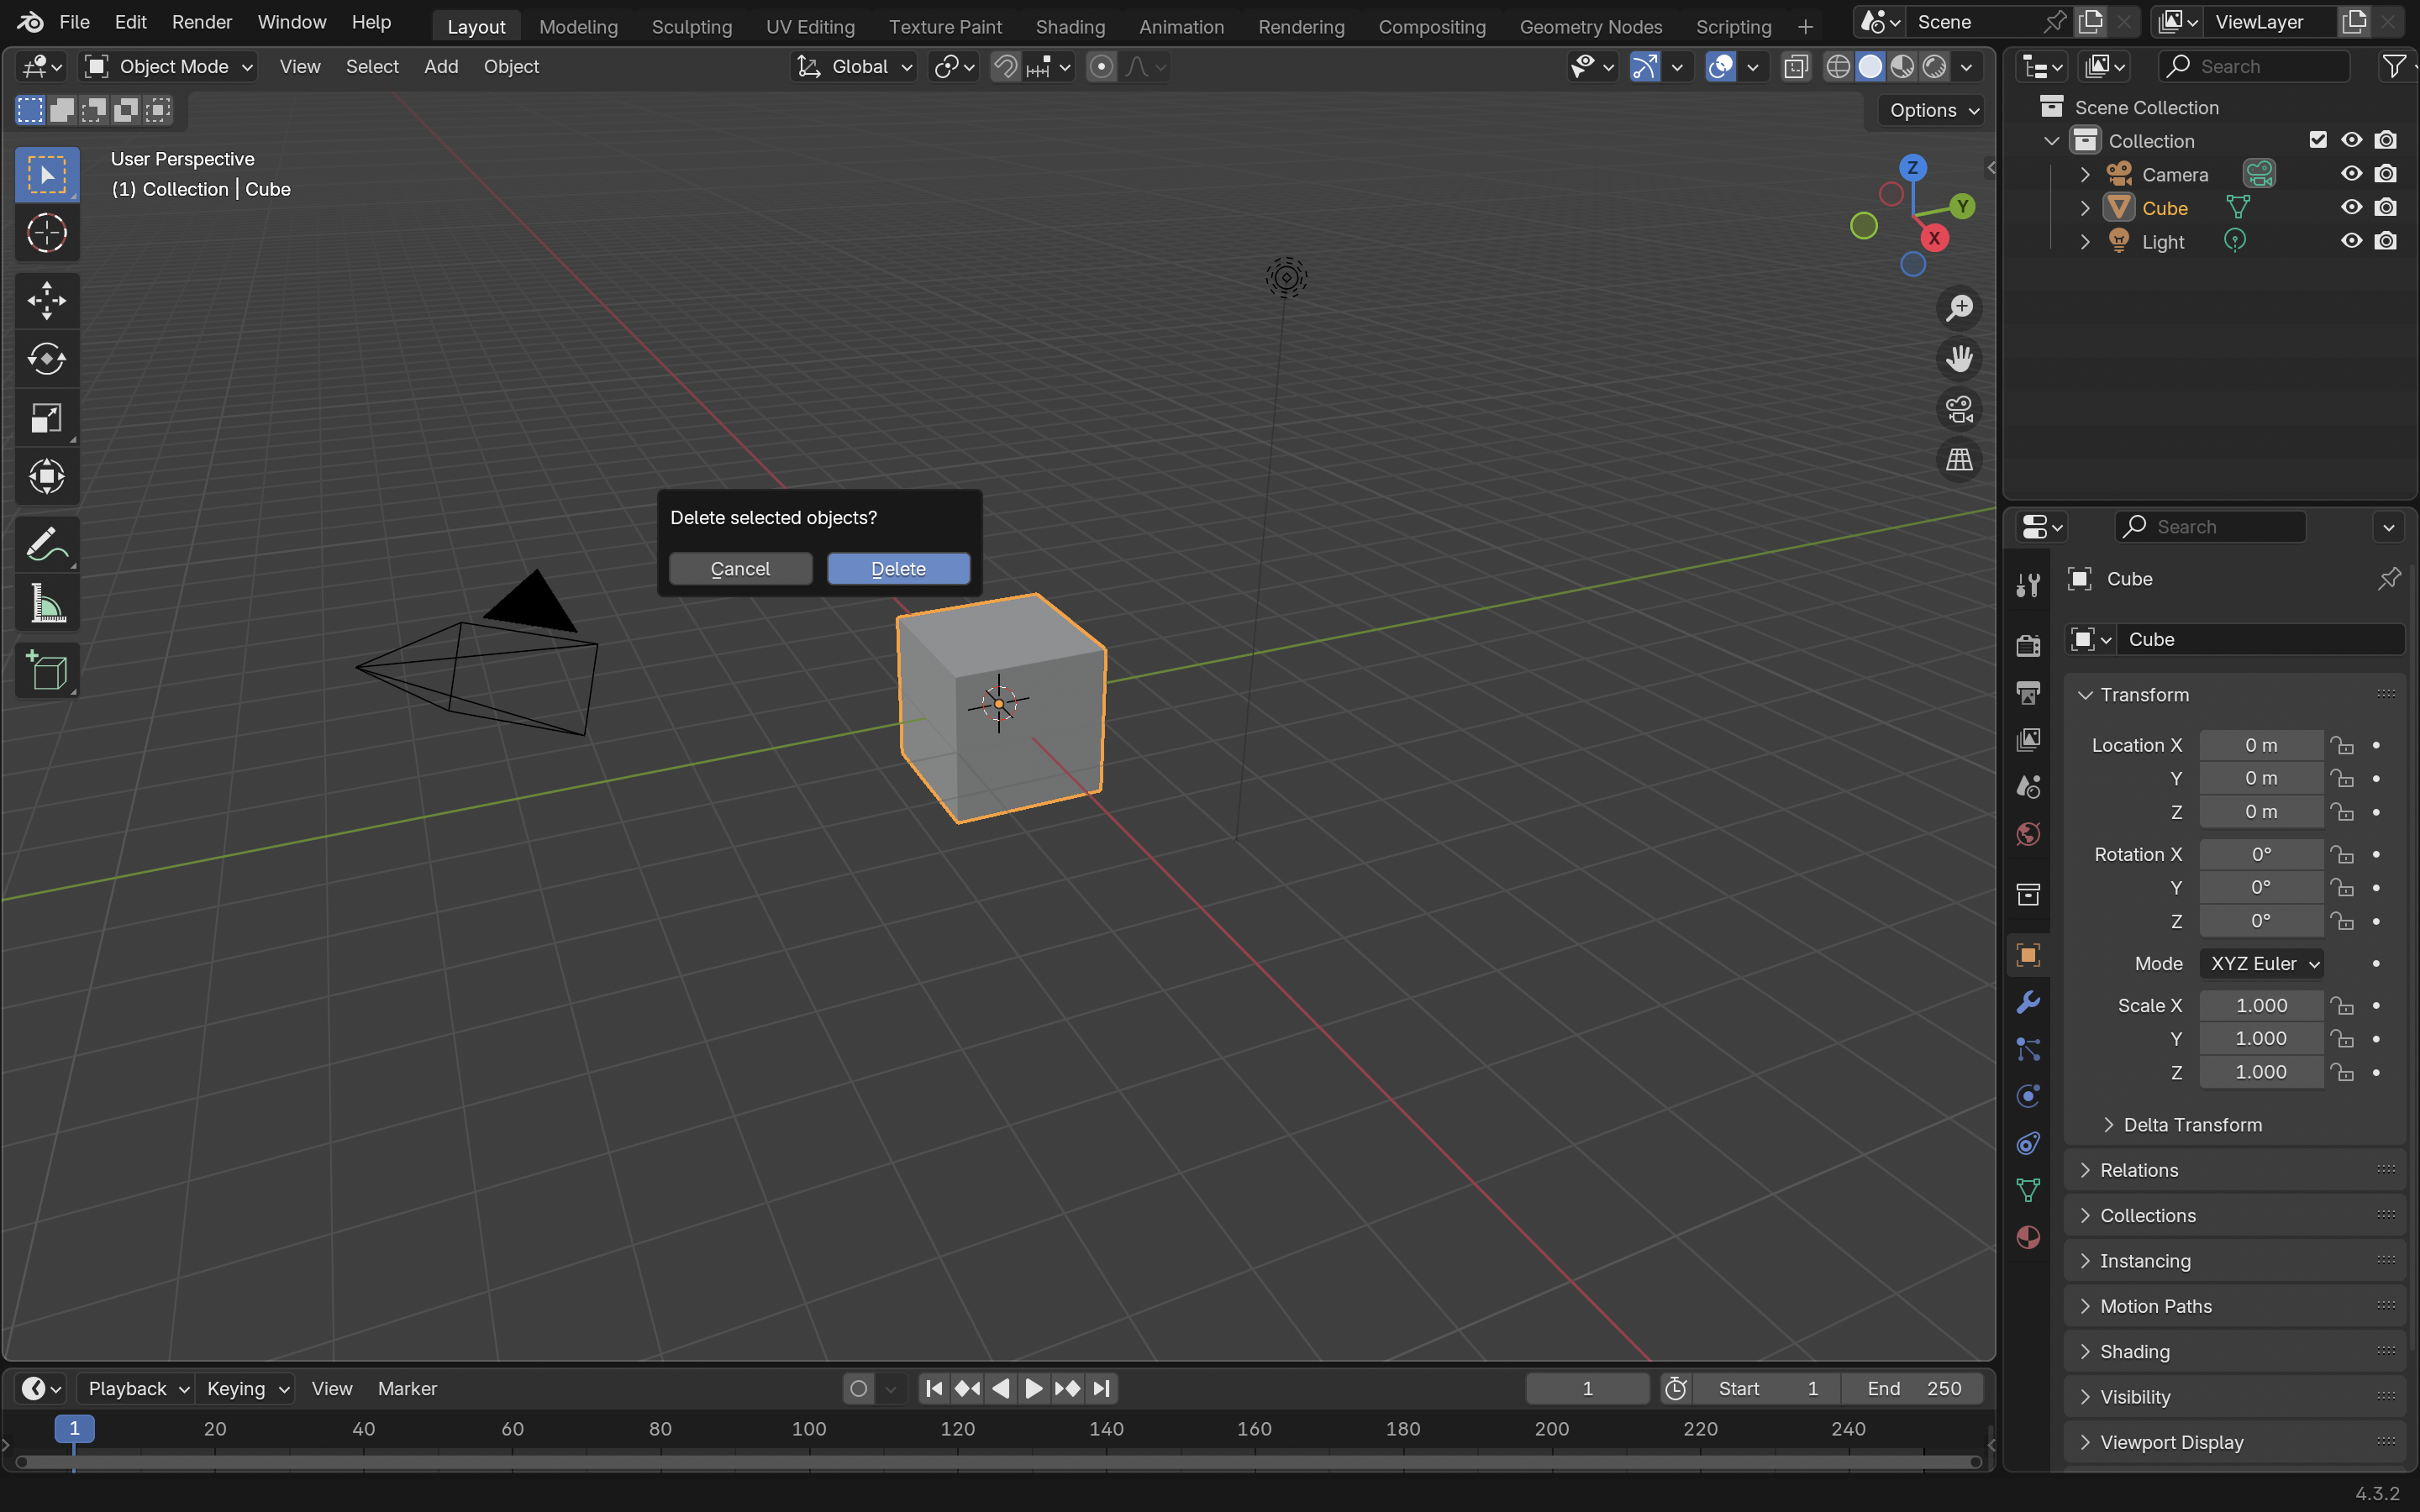
So, I did what everyone does when they’re new and lost – I searched for “Blender tutorial for beginners” and came across the iconic donut tutorial by BlenderGuru. If you want to learn Blender, start by making a donut 🍩. Most people begin their Blender journey here.
What I Learned Throughout the Tutorial Series
Part 1: Modeling the Donut Base
I started by doing what every Blender user does, that is to delete the default cube.Then I added a torus and began learning how to navigate in 3D space.
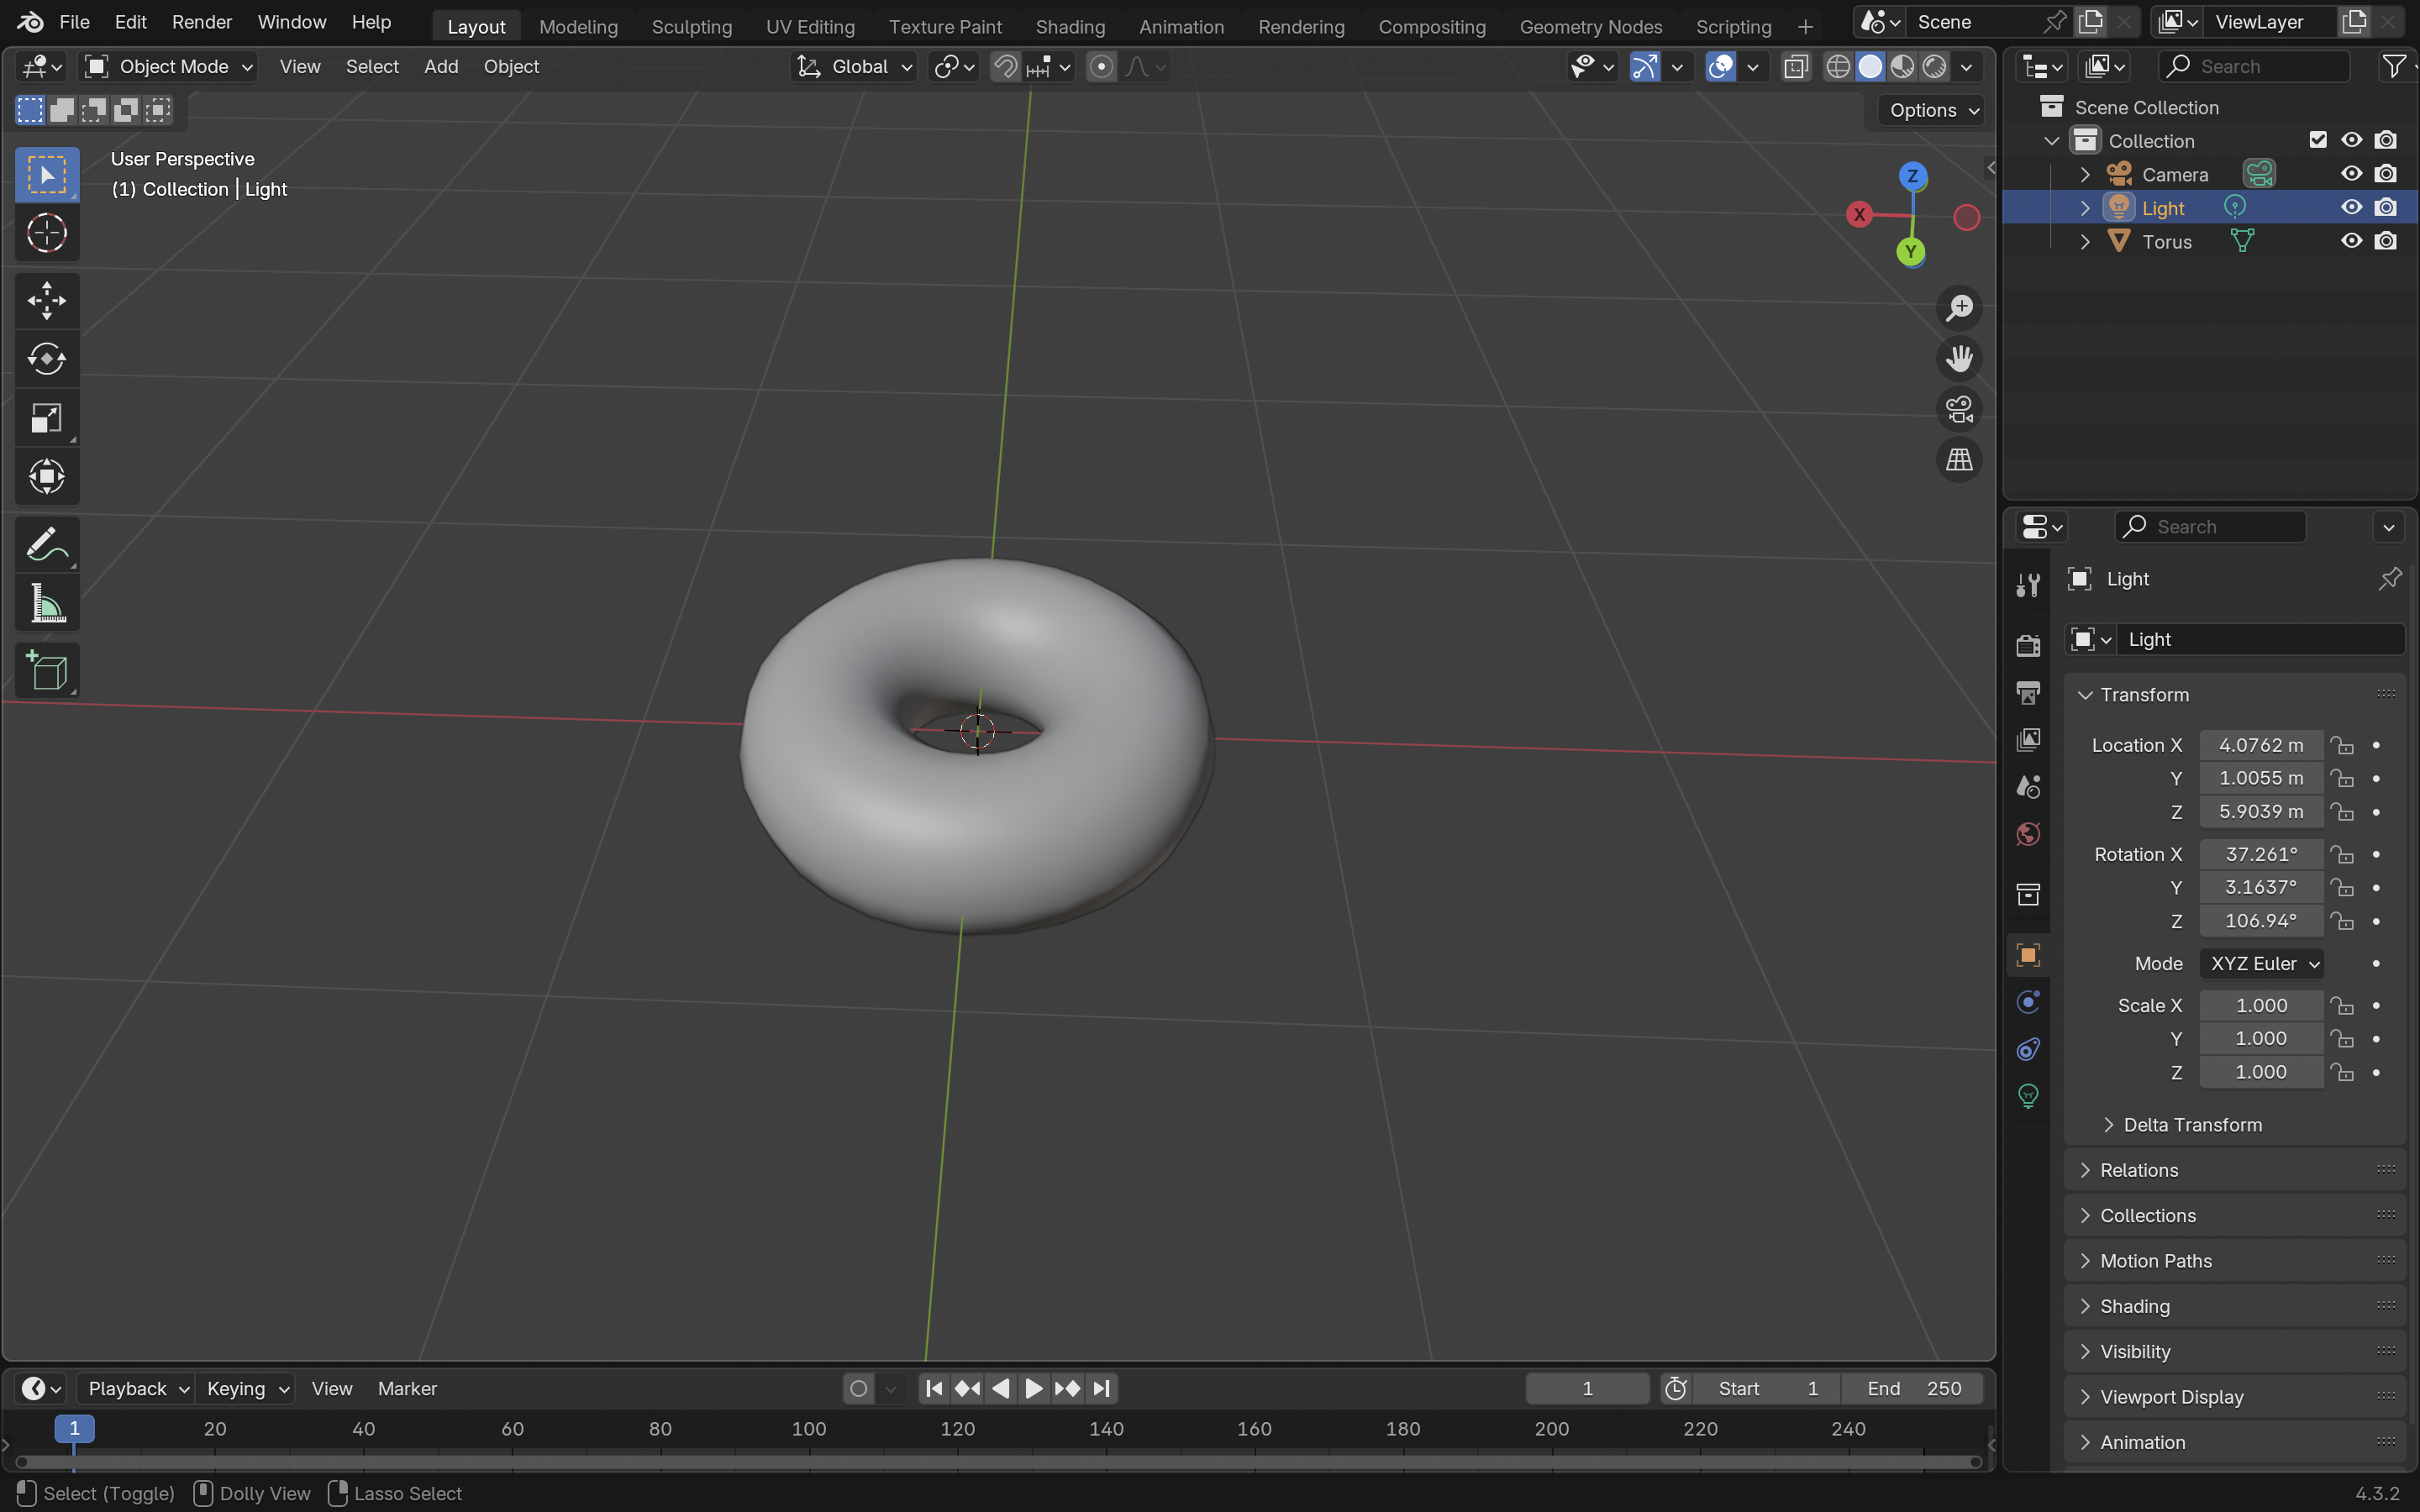
Part 2: Adding Realistic Details
I started adding little bumps and imperfections to make my donut look like it came from a real bakery instead of a computer. I found this part really satisfying once I got used to the sculpting brushes.
Part 3: Creating Icing
This part blew my mind. I duplicated my donut, scaled it up slightly and used Blender’s modifier system to create icing that actually dripped down the sides using a sculpting brush grab.
Part 4: Making It Look Like Real Food
I learned to create realistic surfaces using the shader editor. The donut got texture and the icing became glossy.
Part 5: Adding Sprinkles
I created different types of sprinkles - long and round ones. I used geometry nodes for this. The setup involved using “Distribute Points on Faces” to scatter points across the icing surface, then “Instance on Points” to place the sprinkle geometry. I controlled the sprinkle density with a named attribute and used Collection Info to randomly choose between different sprinkle shapes. The geometry nodes gave me precise control over placement, rotation and scale variation etc.
Geometry Node for Long Sprinkles: 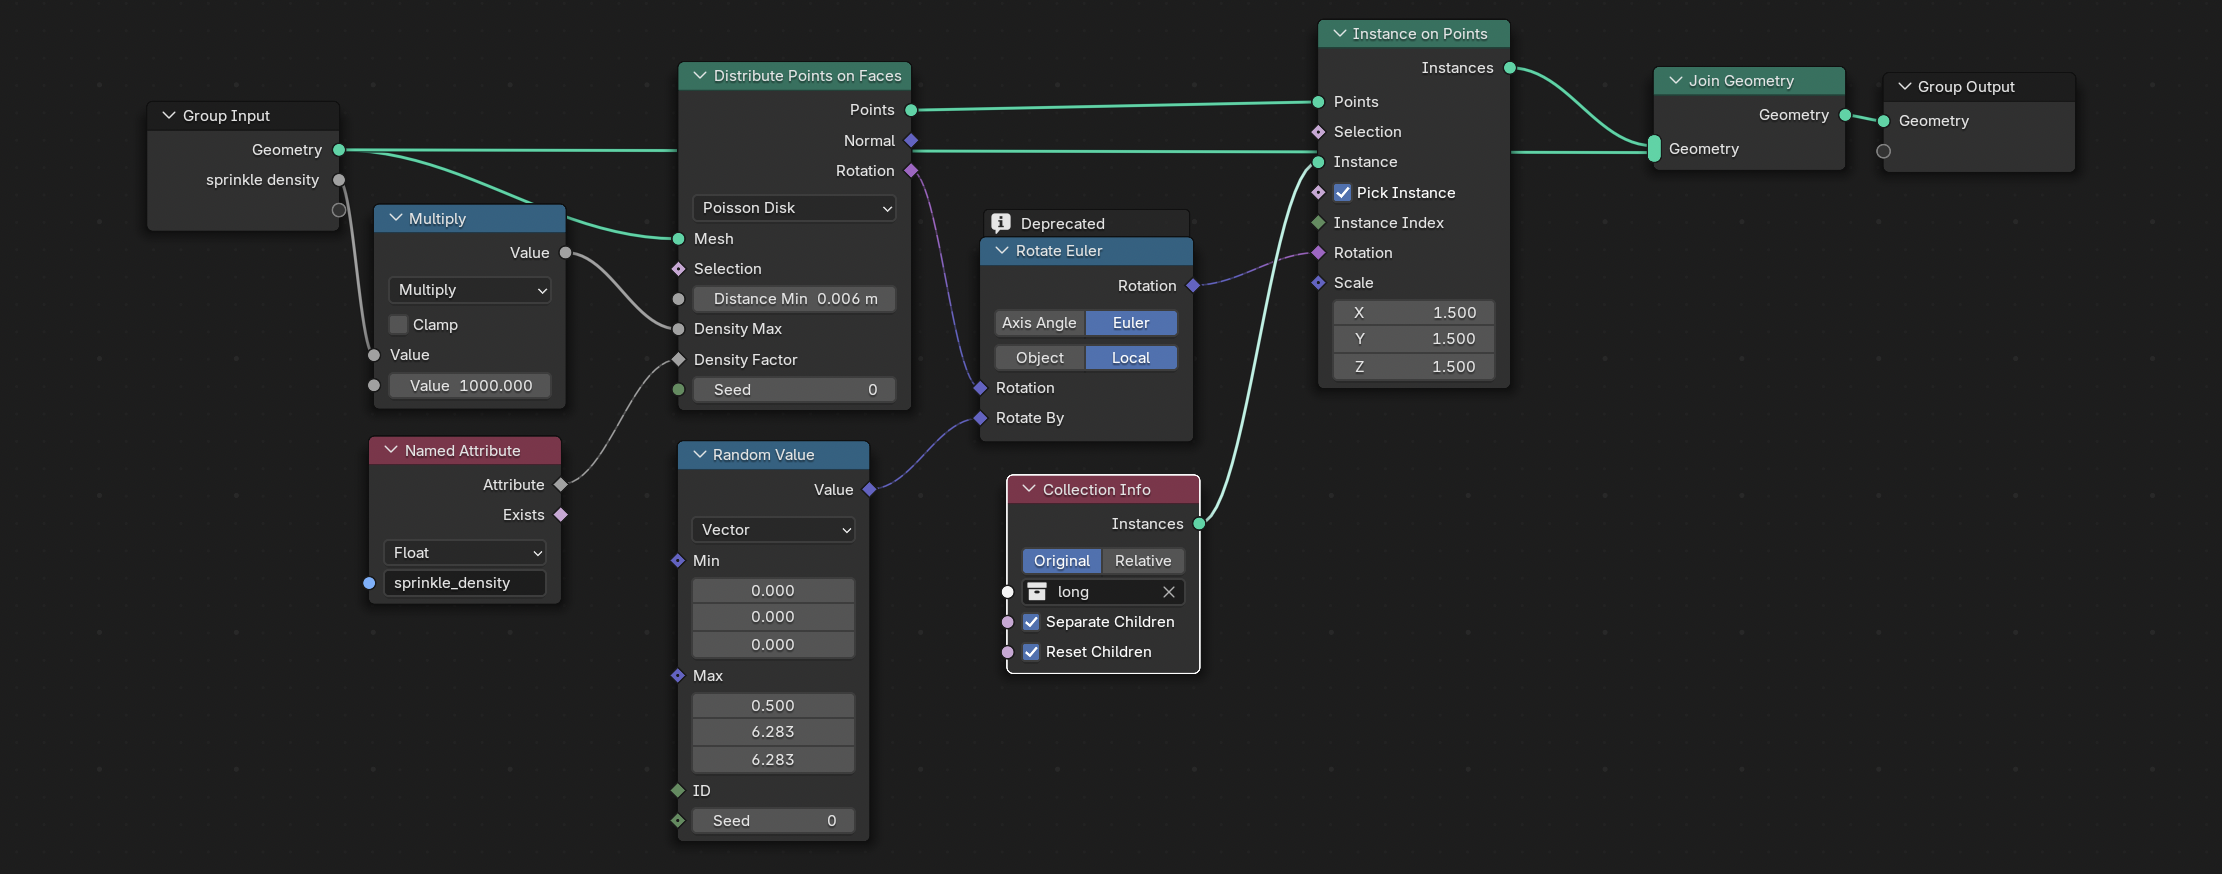
Geometry Node for Round Sprinkles: 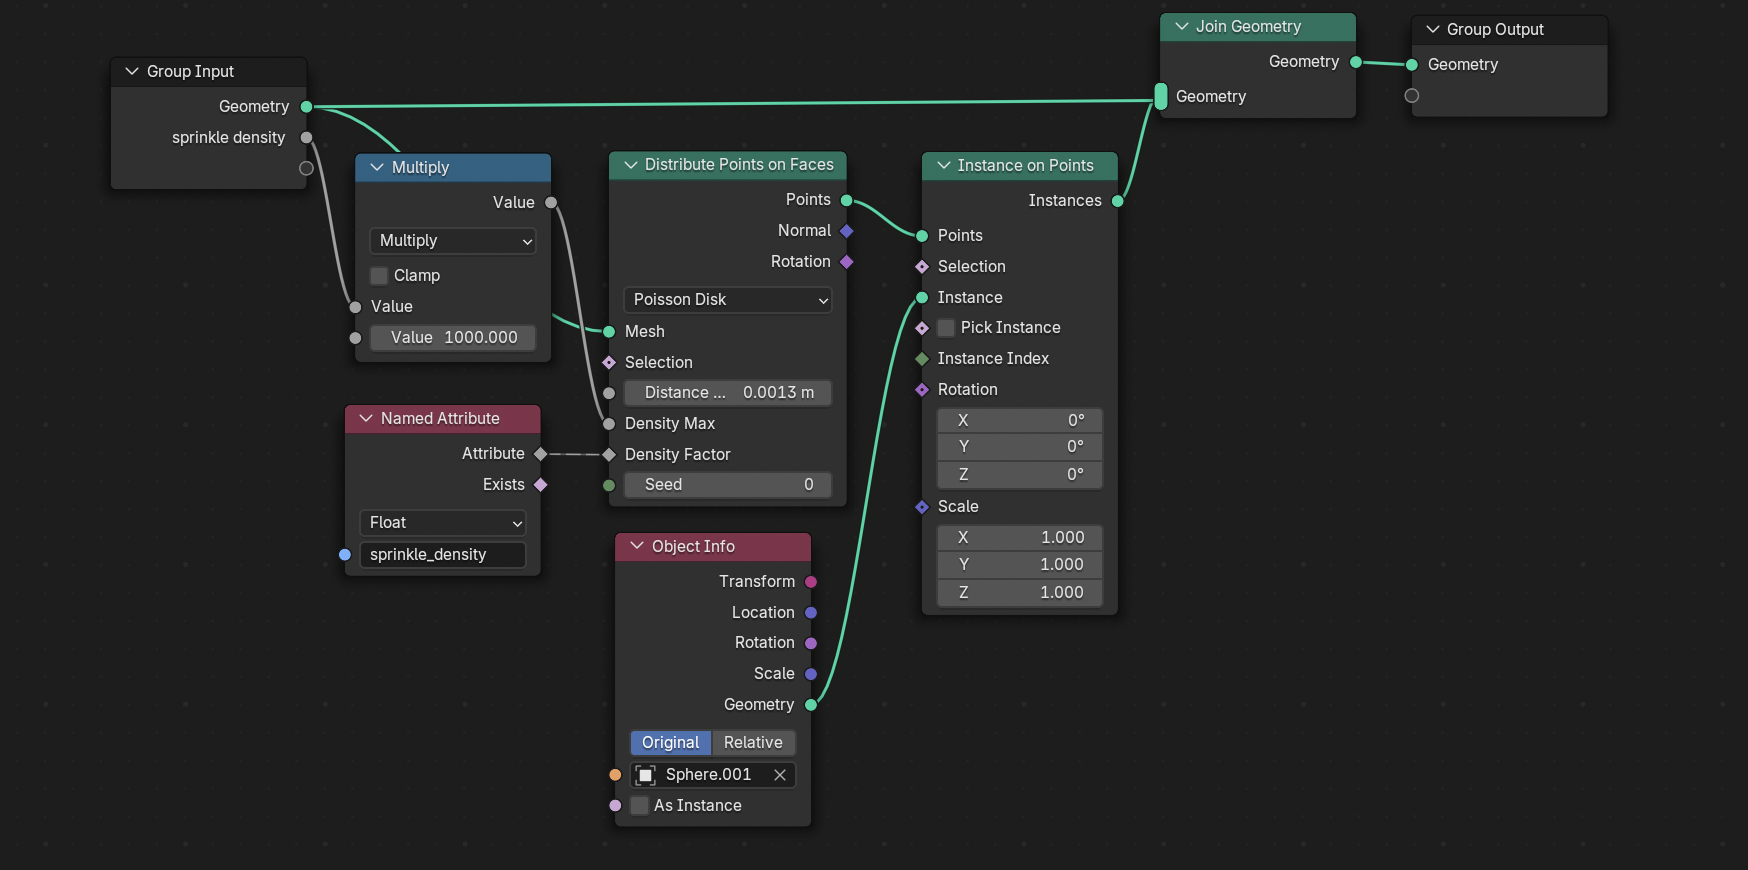
Part 6: Making the Background and Adding Textures
Once the donut was done, I added a simple plane for the tabletop and textured it with a marble material using a Principled BSDF shader for realism. Then, I modeled a plate for the donut and applied a shiny ceramic material with subtle imperfections.
I duplicated the donuts a few times and stacked them on the plate. The combination of textures and stacked donuts really brought everything together.
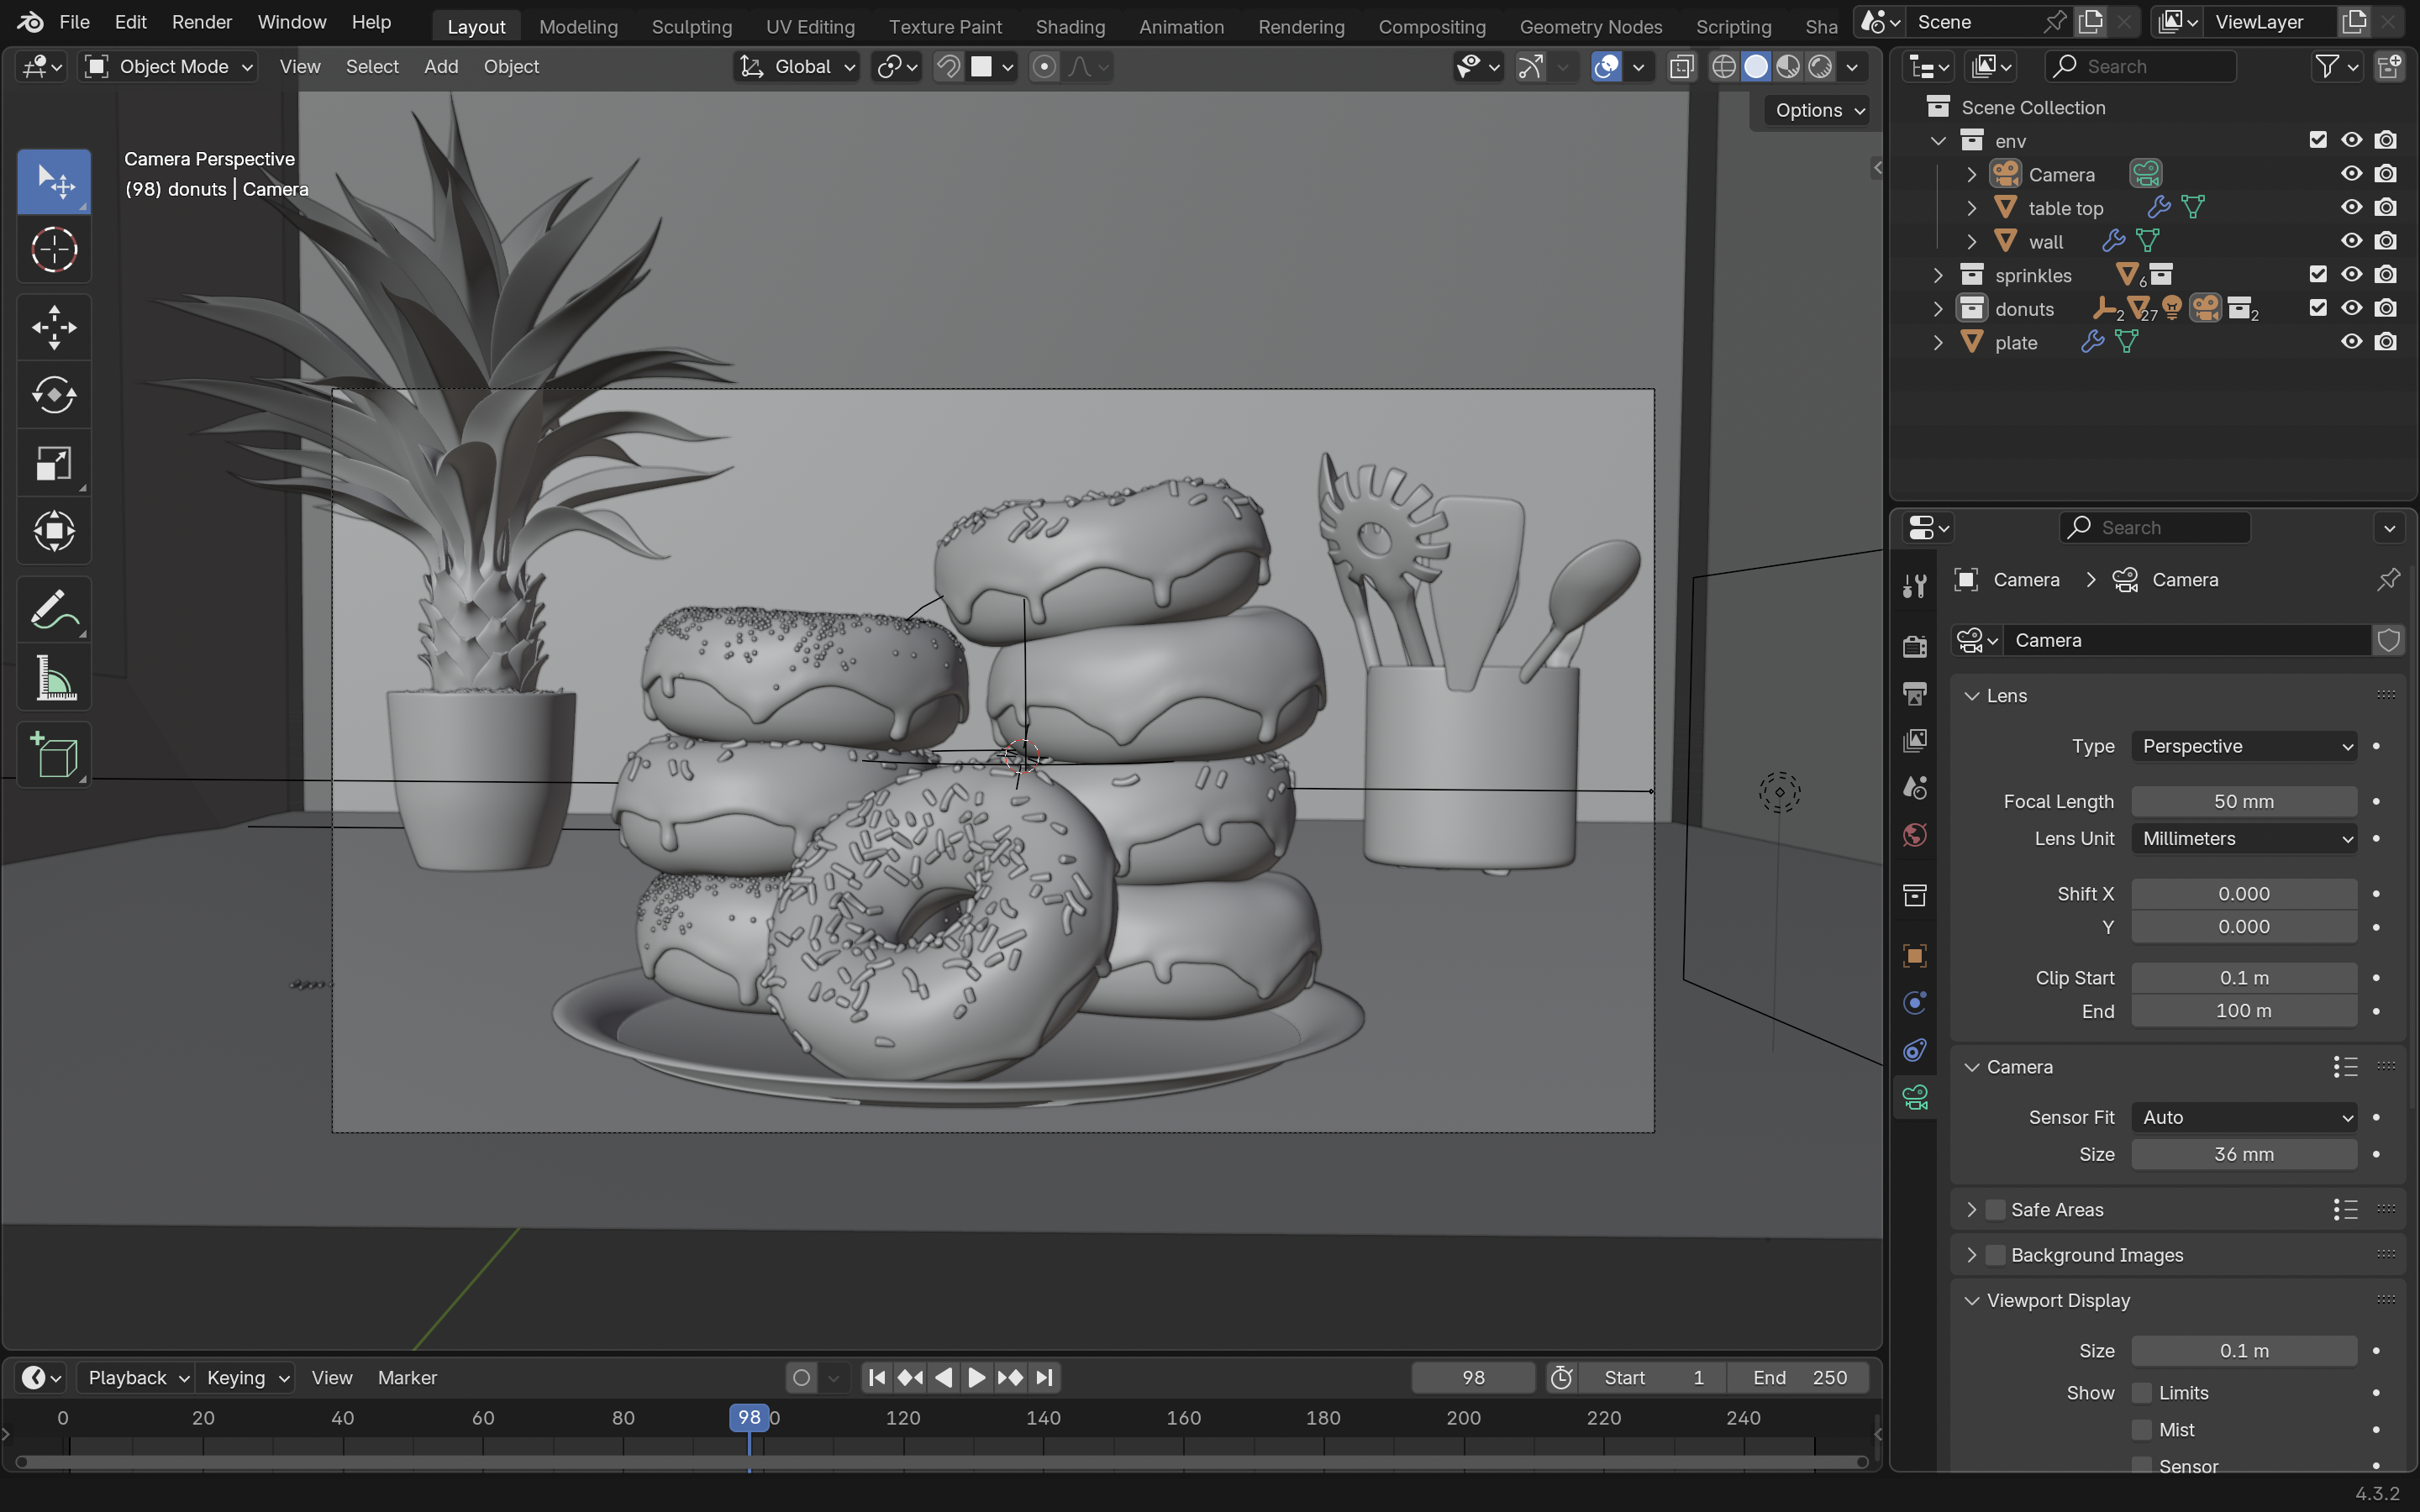
After this I set up the lighting to make the donut look good and positioned the camera and added depth of field to blur the background.
Part 8: Creating My Final Render
The last step was generating the final image. I learned about render settings, balancing quality with render time and made some basic color corrections to enhance the scene.
I used Cycles with GPU compute for faster rendering. After adjusting the settings, I rendered the scene and was finally able to see my donut in all its glory.
Final Result! 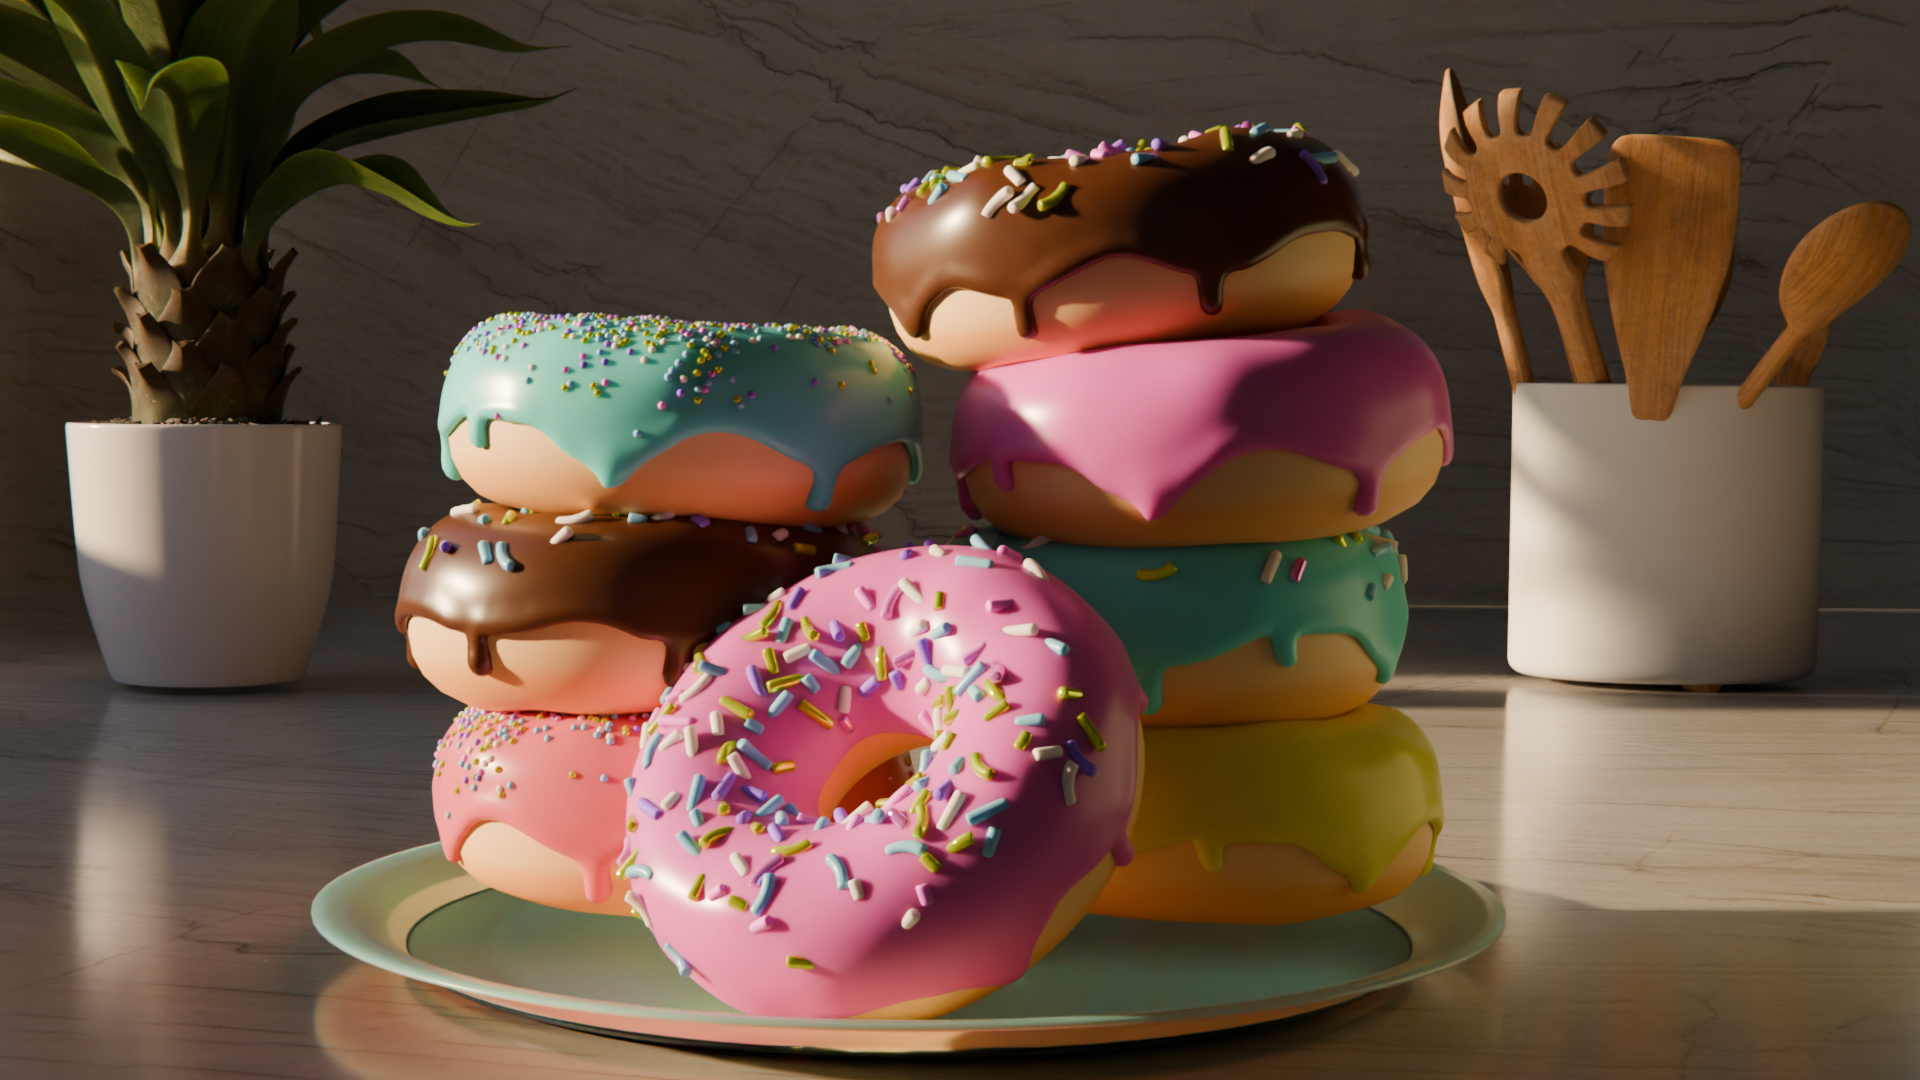
I had so much fun creating it, and I’m so happy with the final result. I never expected it would turn out this well. I’ll be spending this week getting back to learning more about Blender, and I’ll be sharing my progress soon.
I hope you enjoyed this blog post :)